

Step 1
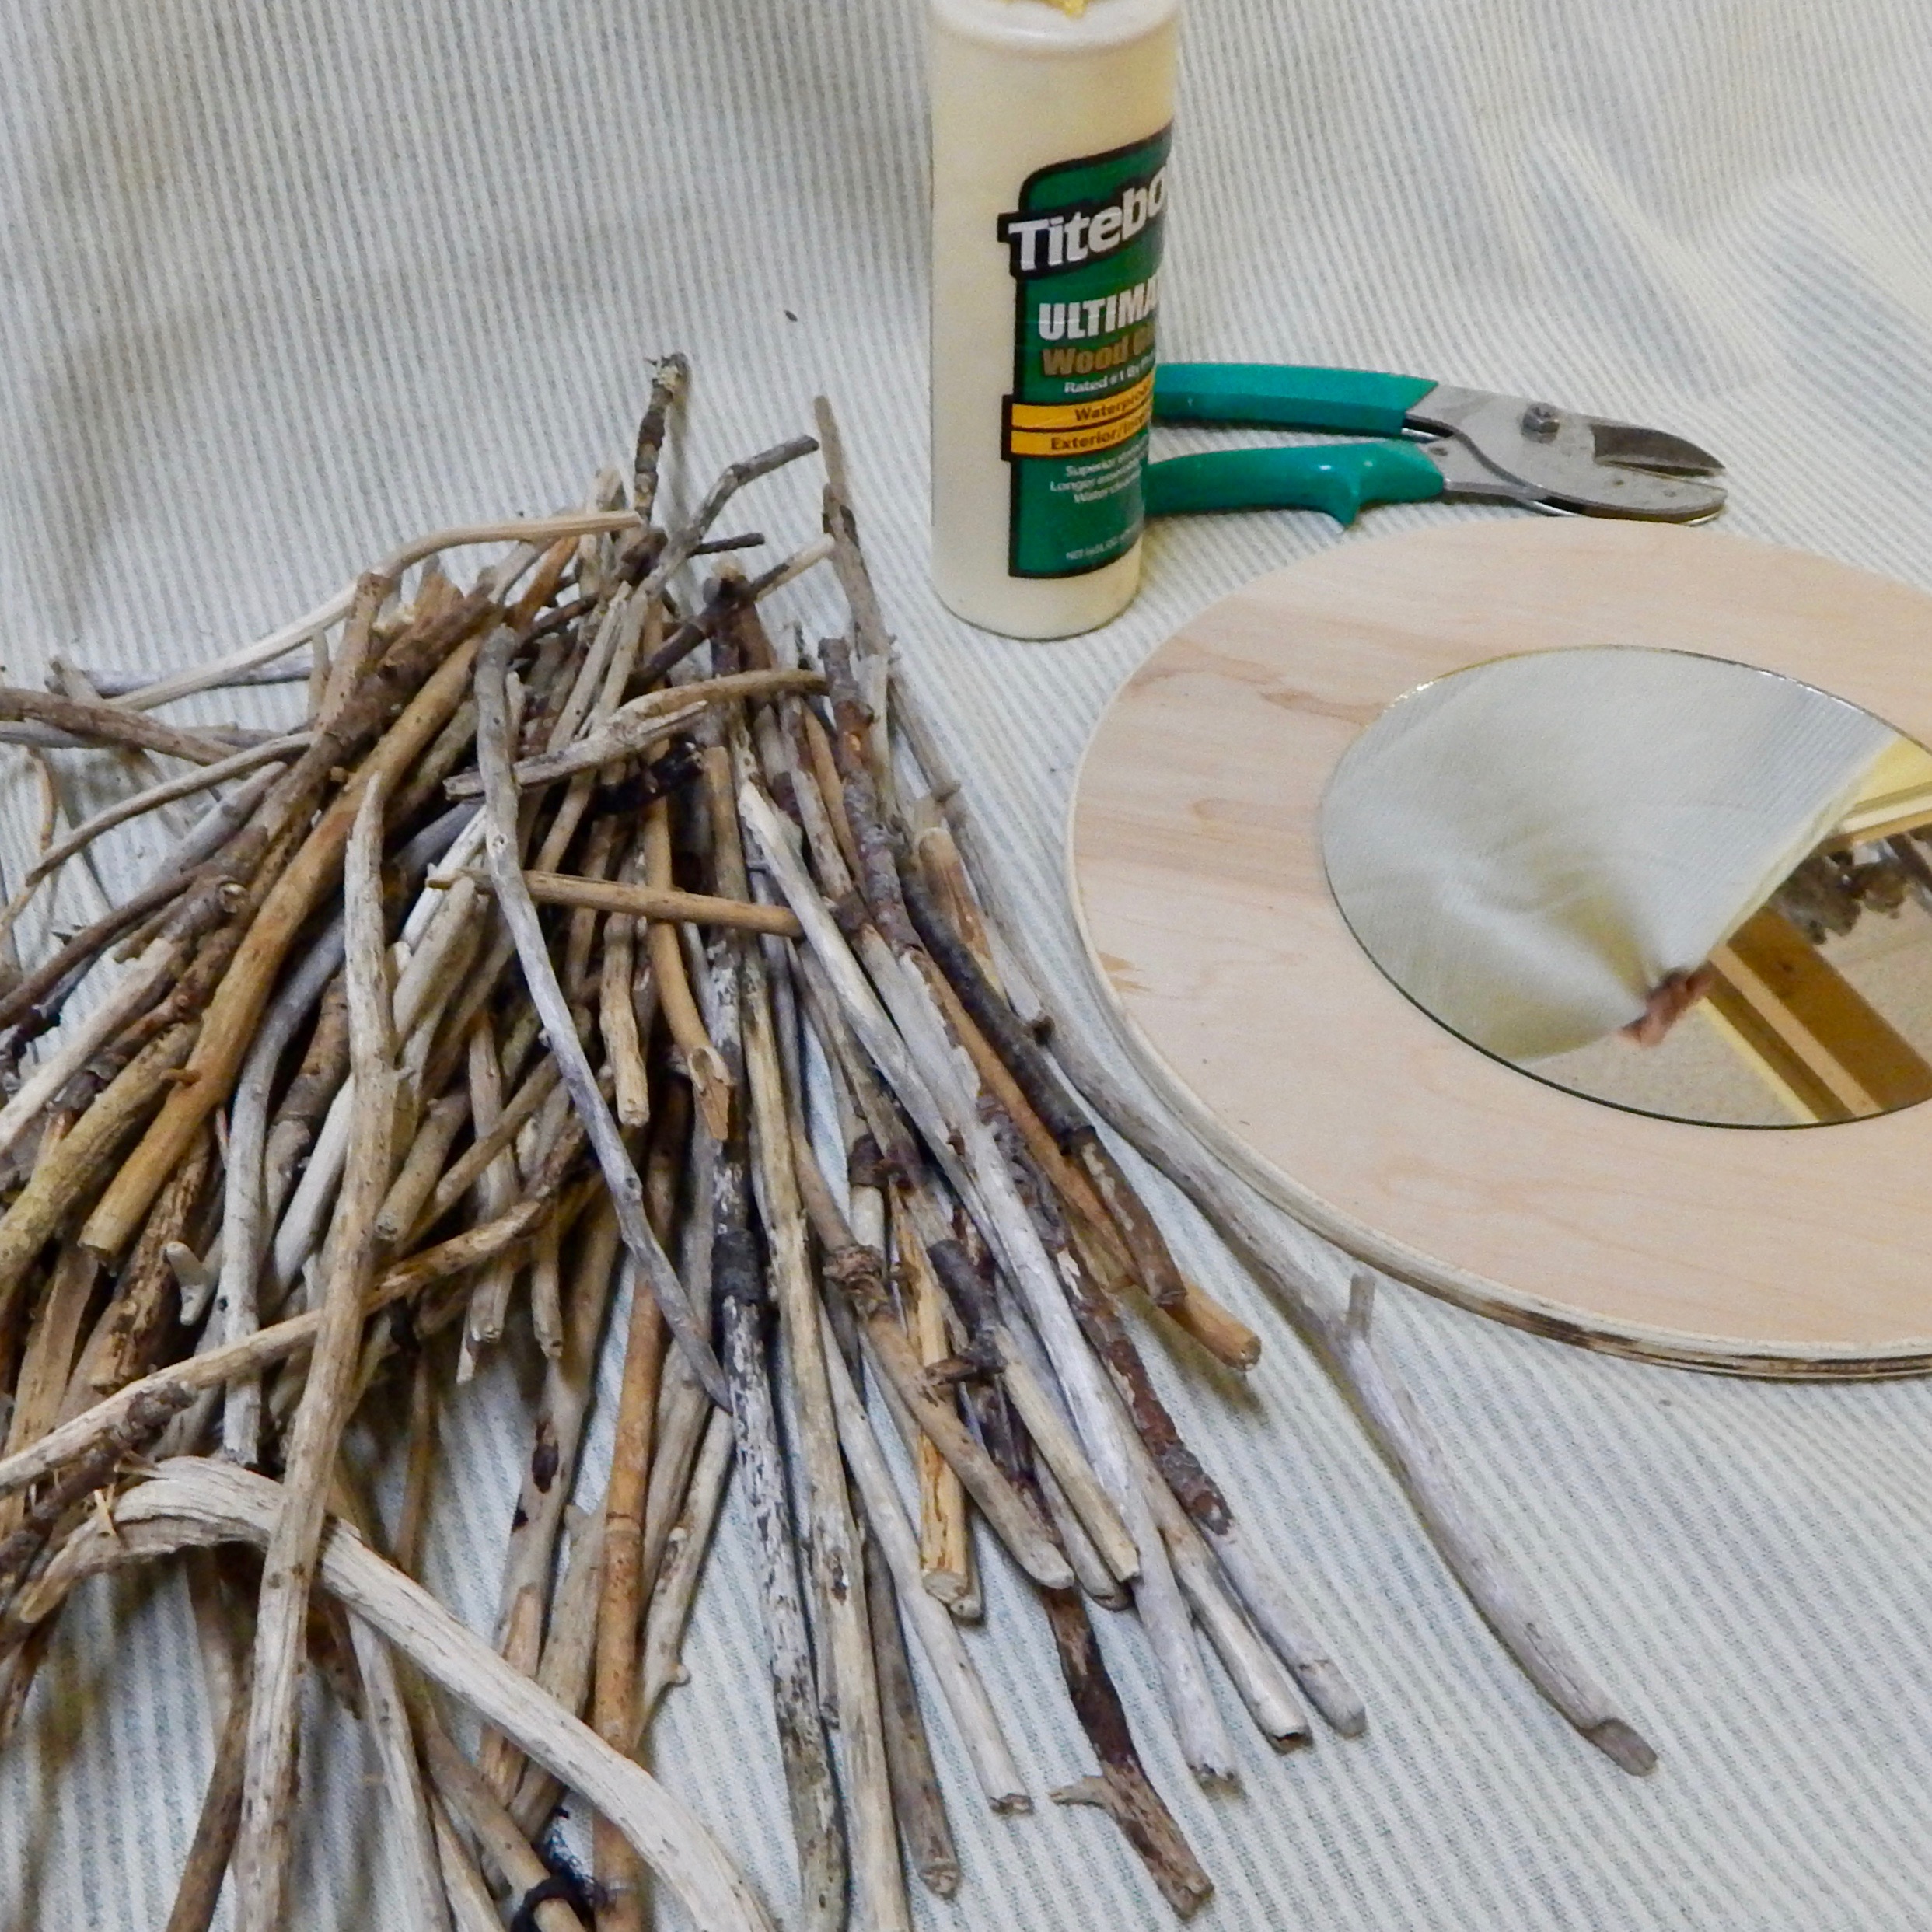 To begin your driftwood mirror, you will want to start by adhering the mirror to the base. The best way to ensure that the mirror does not become scratched or broken, is to gently flip the mirror over face-down onto a smooth, soft surface.
Using a strong adhesive like Mirror Mastic or E6000, you will want to squeeze a generous amount of glue onto the back of the mirror, then spread it out with a flat object, such as a paint stick. You will then want to carefully flip the mirror back over onto the wooden base, and allow the glue to dry.
Step 2
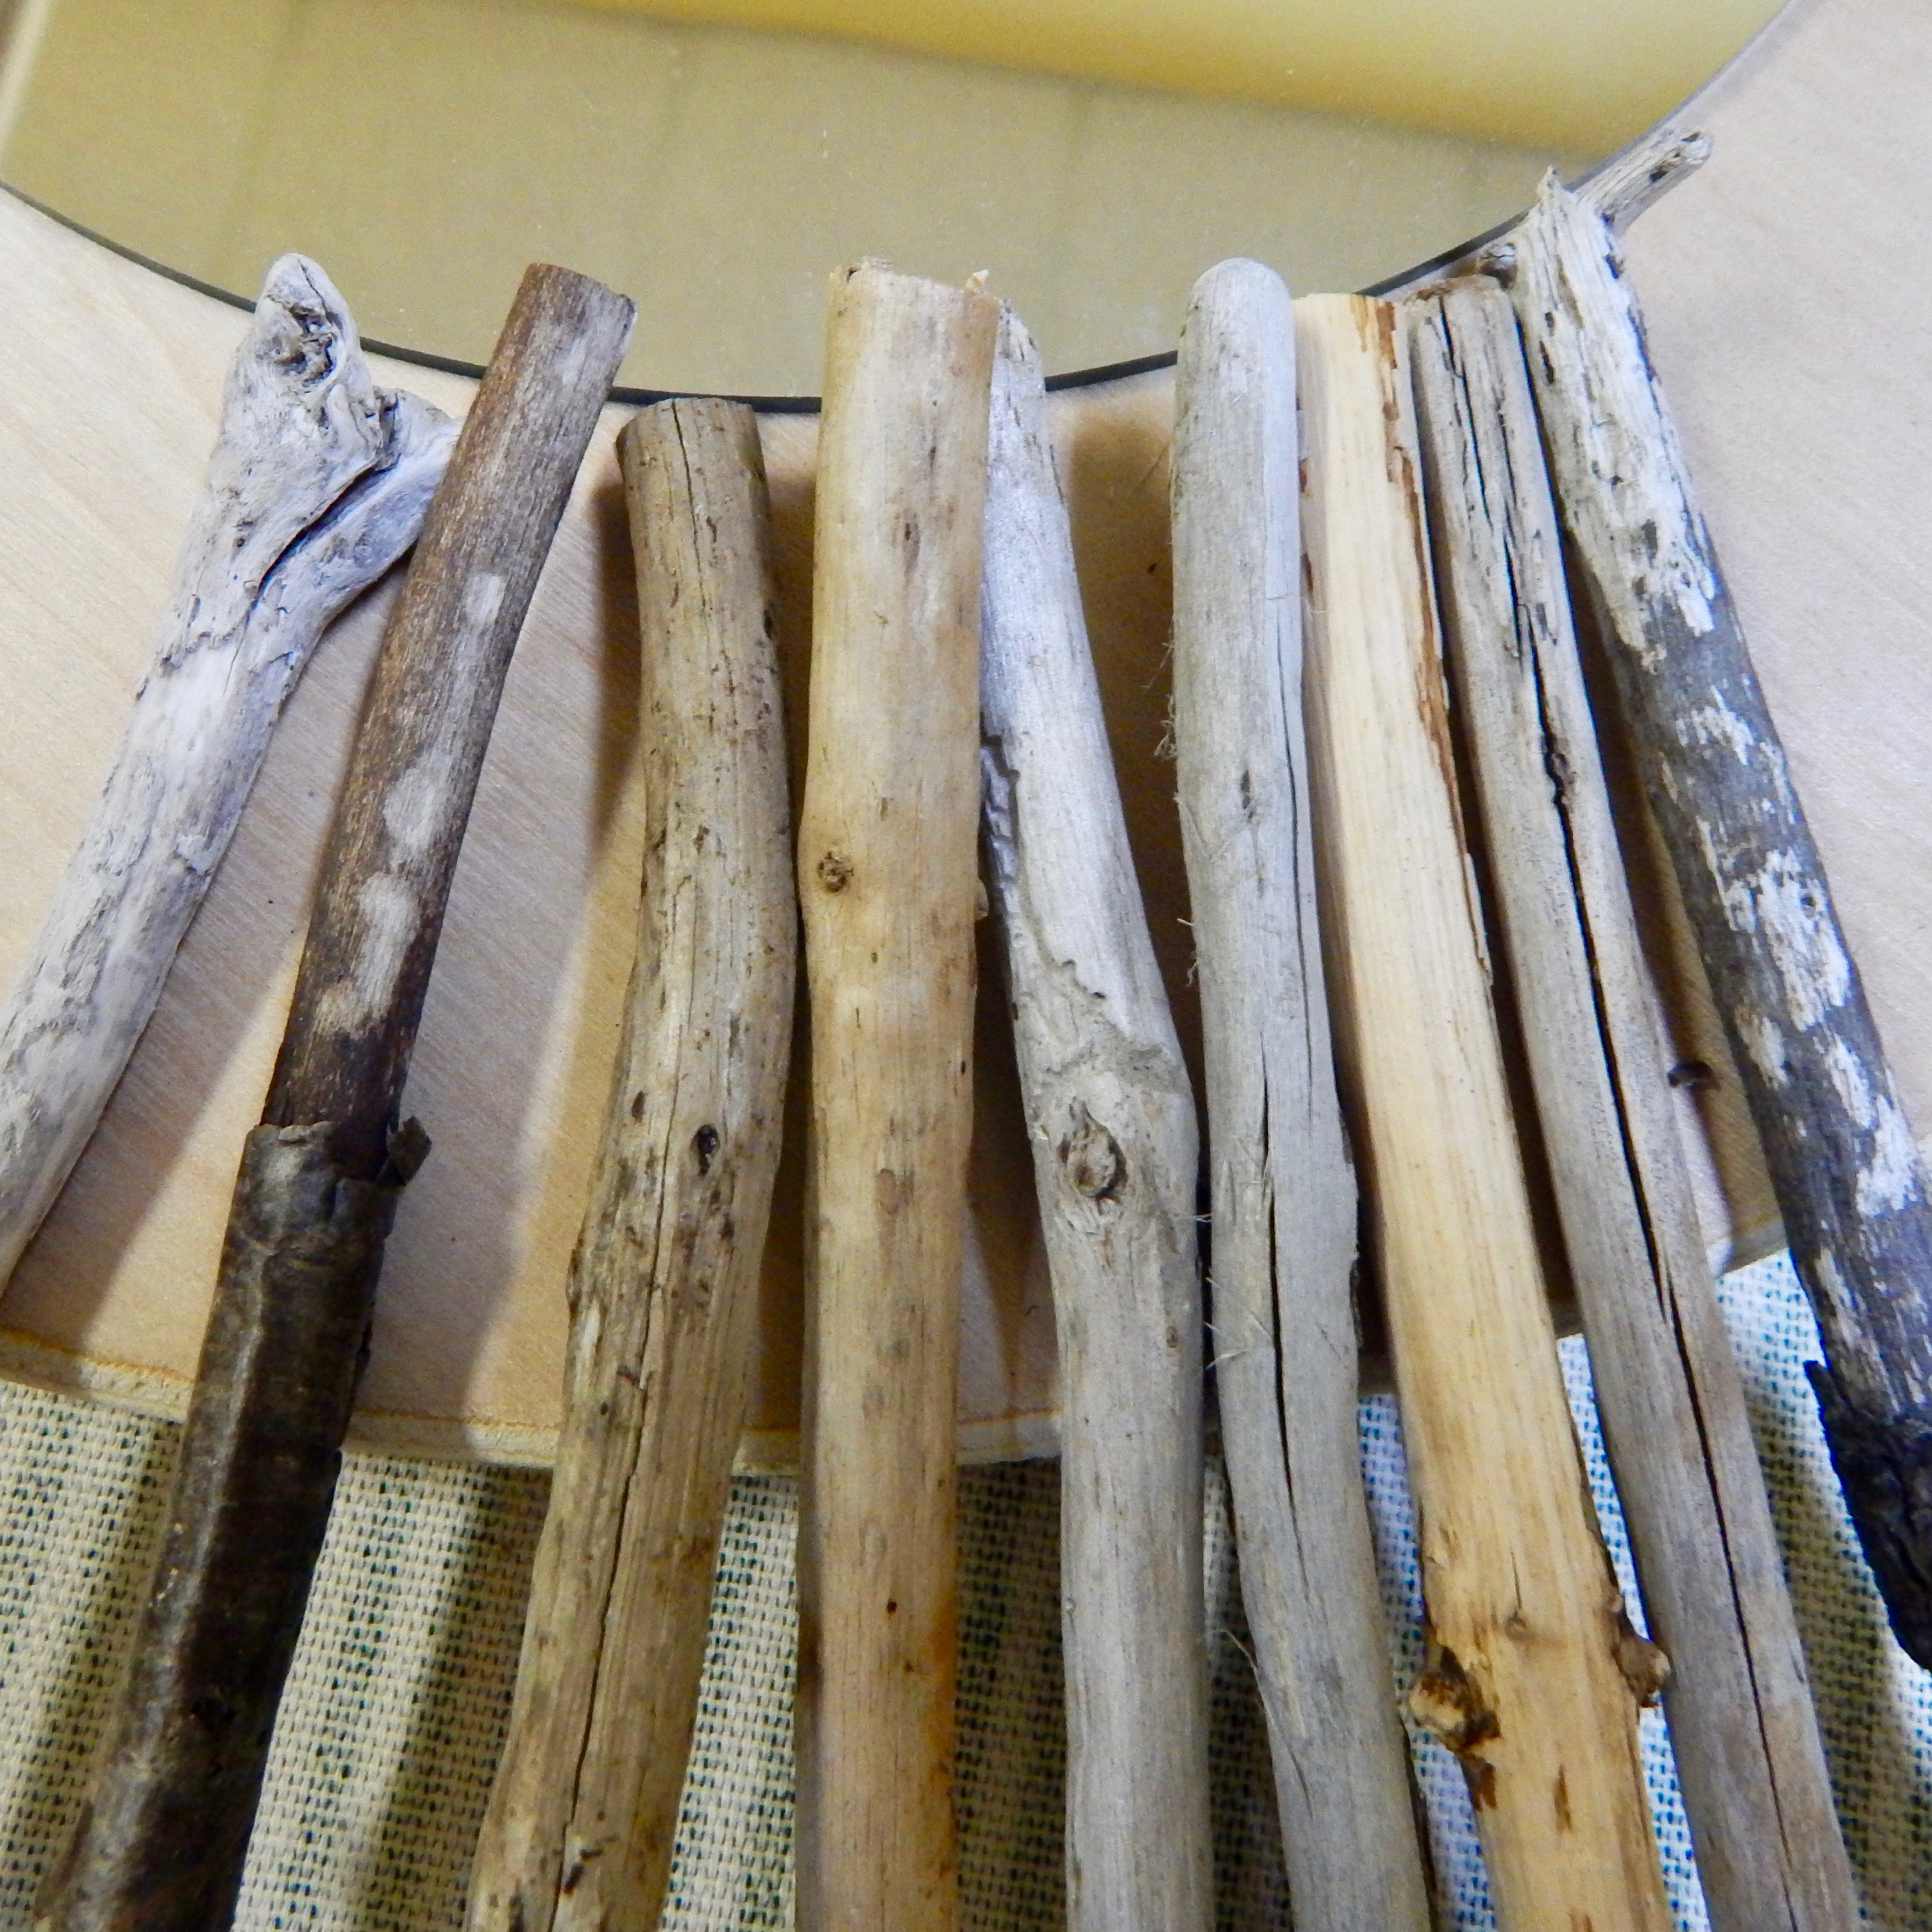 Once the mirror is secured, you can begin laying the longer driftwood sticks out along the edge of the mirror. After you have completed this base layer, you will want to go back and adhere the pieces, using the wood glue. At this stage, for best results, you should allow the glue to dry for a couple hours before laying out your second layer of sticks.
Step 3
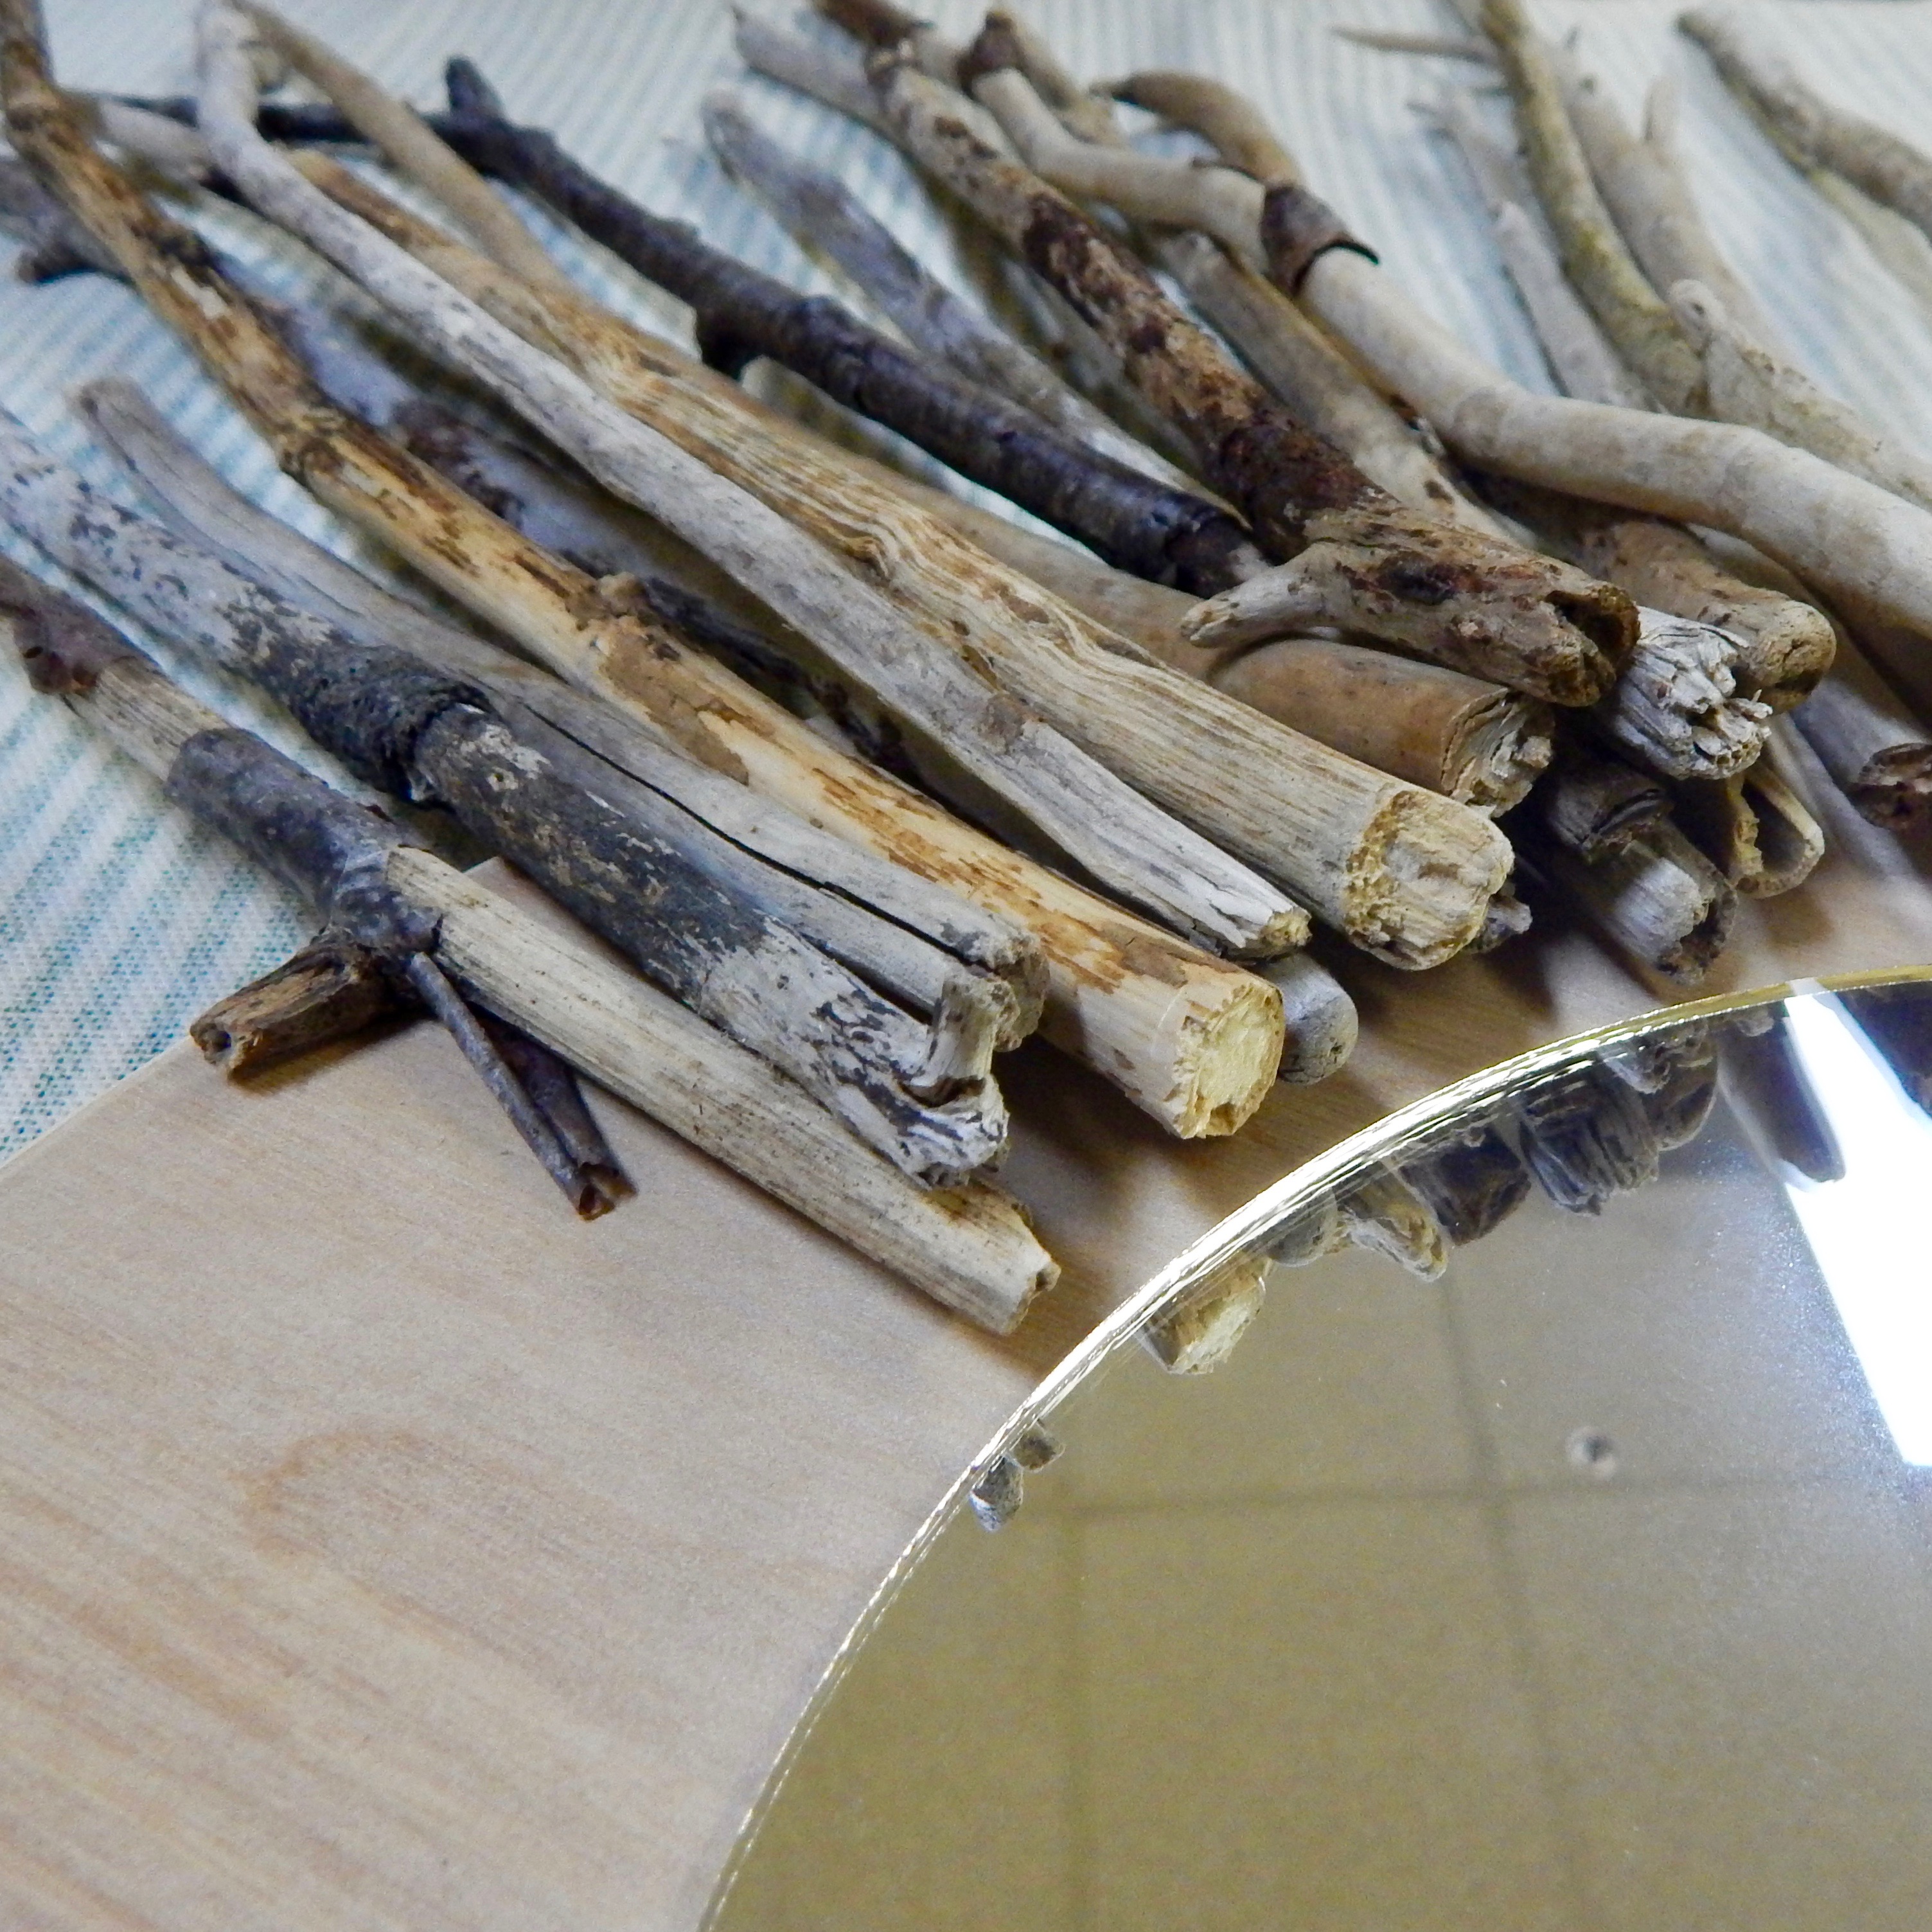 When creating the second layer, you will want to be mindful of any spaces in your base layer, and do your best to fill these spaces, as to cover up any wood from the base.
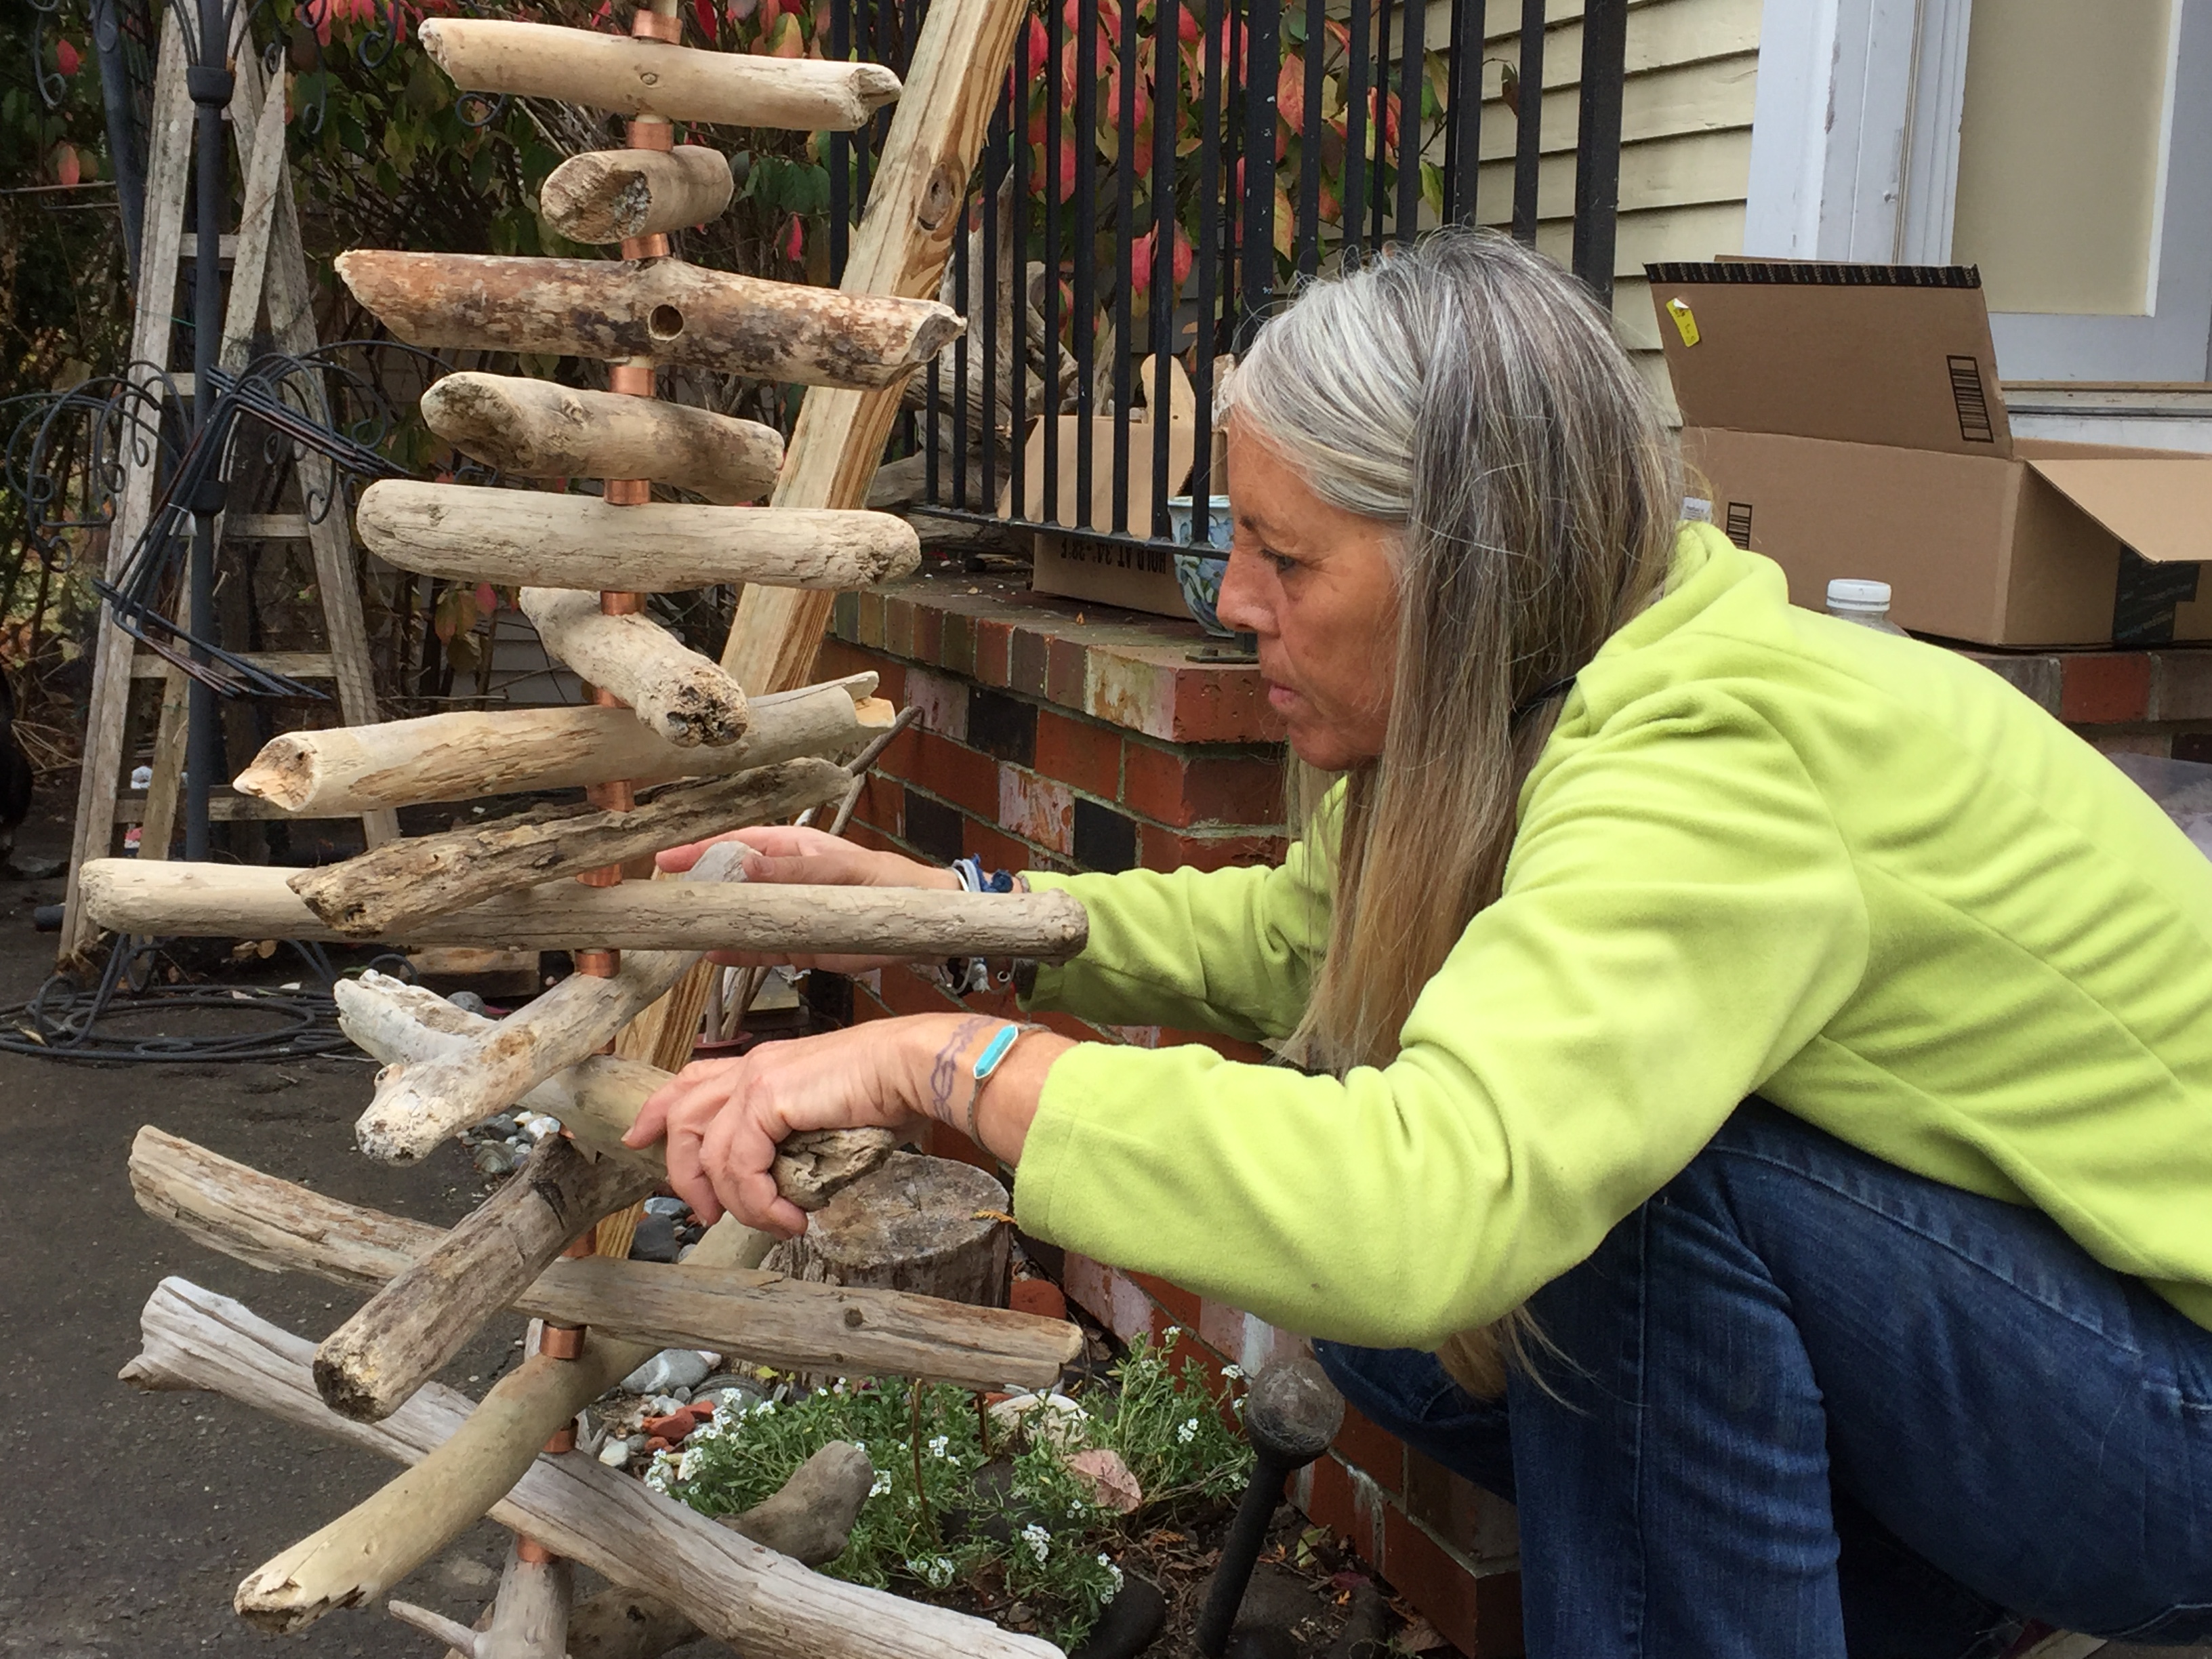
Step 4
 Clipping your driftwood sticks to create shorter lengths, will help to give your wreath more texture when used on the top layer. Shorter sticks can also be helpful when filling in spaces on the base layer. Whether you decide to 2 or 3 layers, the process will remain the same: Lay down your sticks, glue, repeat. After all layers are secured, you can accent your mirror with sea glass, or leave it as is.
When your mirror is complete, simply allow all glue to dry completely, tie a 2″ ribbon on the wire loop, hang the mirror in your chosen space, and enjoy!
