
How to make your own wedding arch out of driftwood
Salty Girl instructions for building a driftwood arch
- Arrange driftwood into four piles – 2 legs – longest, top – approx. 6′, 6 tripod feet (if you’re making a self-standing arch), extra pieces for decoration/embellishing
- Pull out the two 7′ pieces and lay them on the ground approximately 5 feet apart.
- Pull out the next most extended branch (if more than one 6′ piece, choose the thickest and most durable). Lay the top pice approximately 4-6″ from the top of the leg pieces.
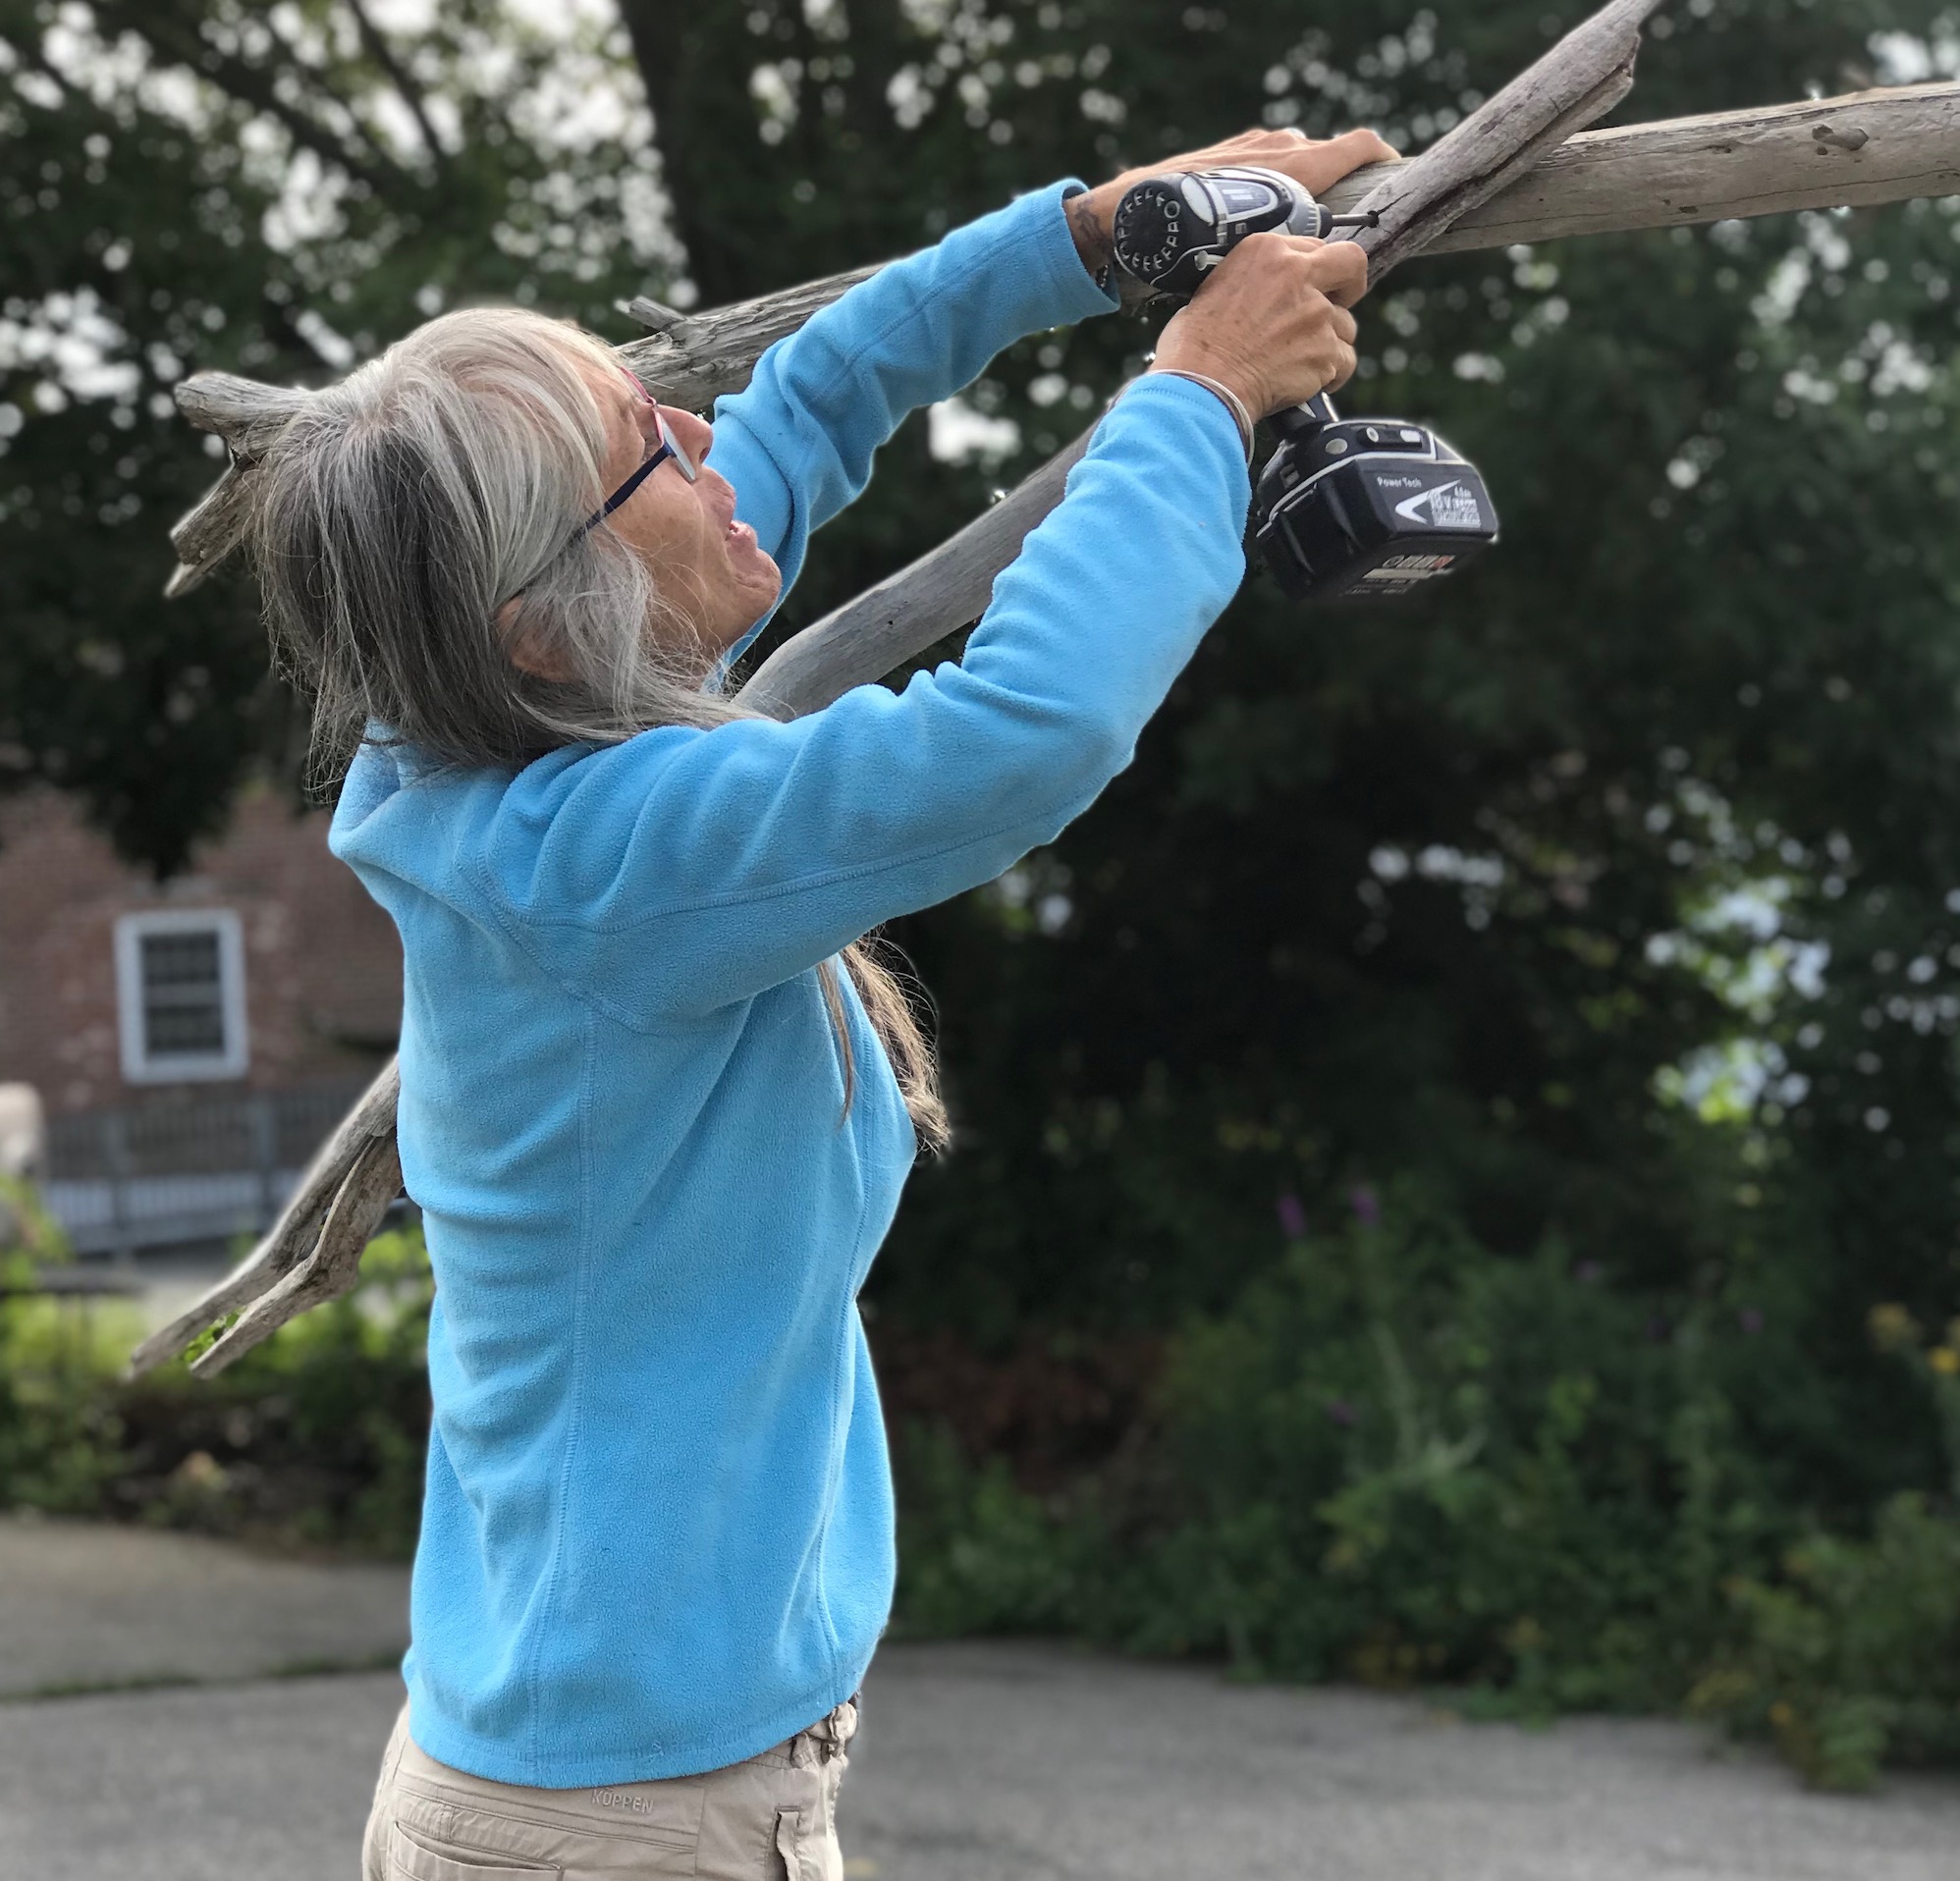
- Once you have your underlying arch layer out, you can begin drilling holes into the top arch piece, going through to the bottom let pieces.
- Use the longest screws to secure the top to the legs.
- With saw horses or something else to stabilize the arch, you can now stand it up.
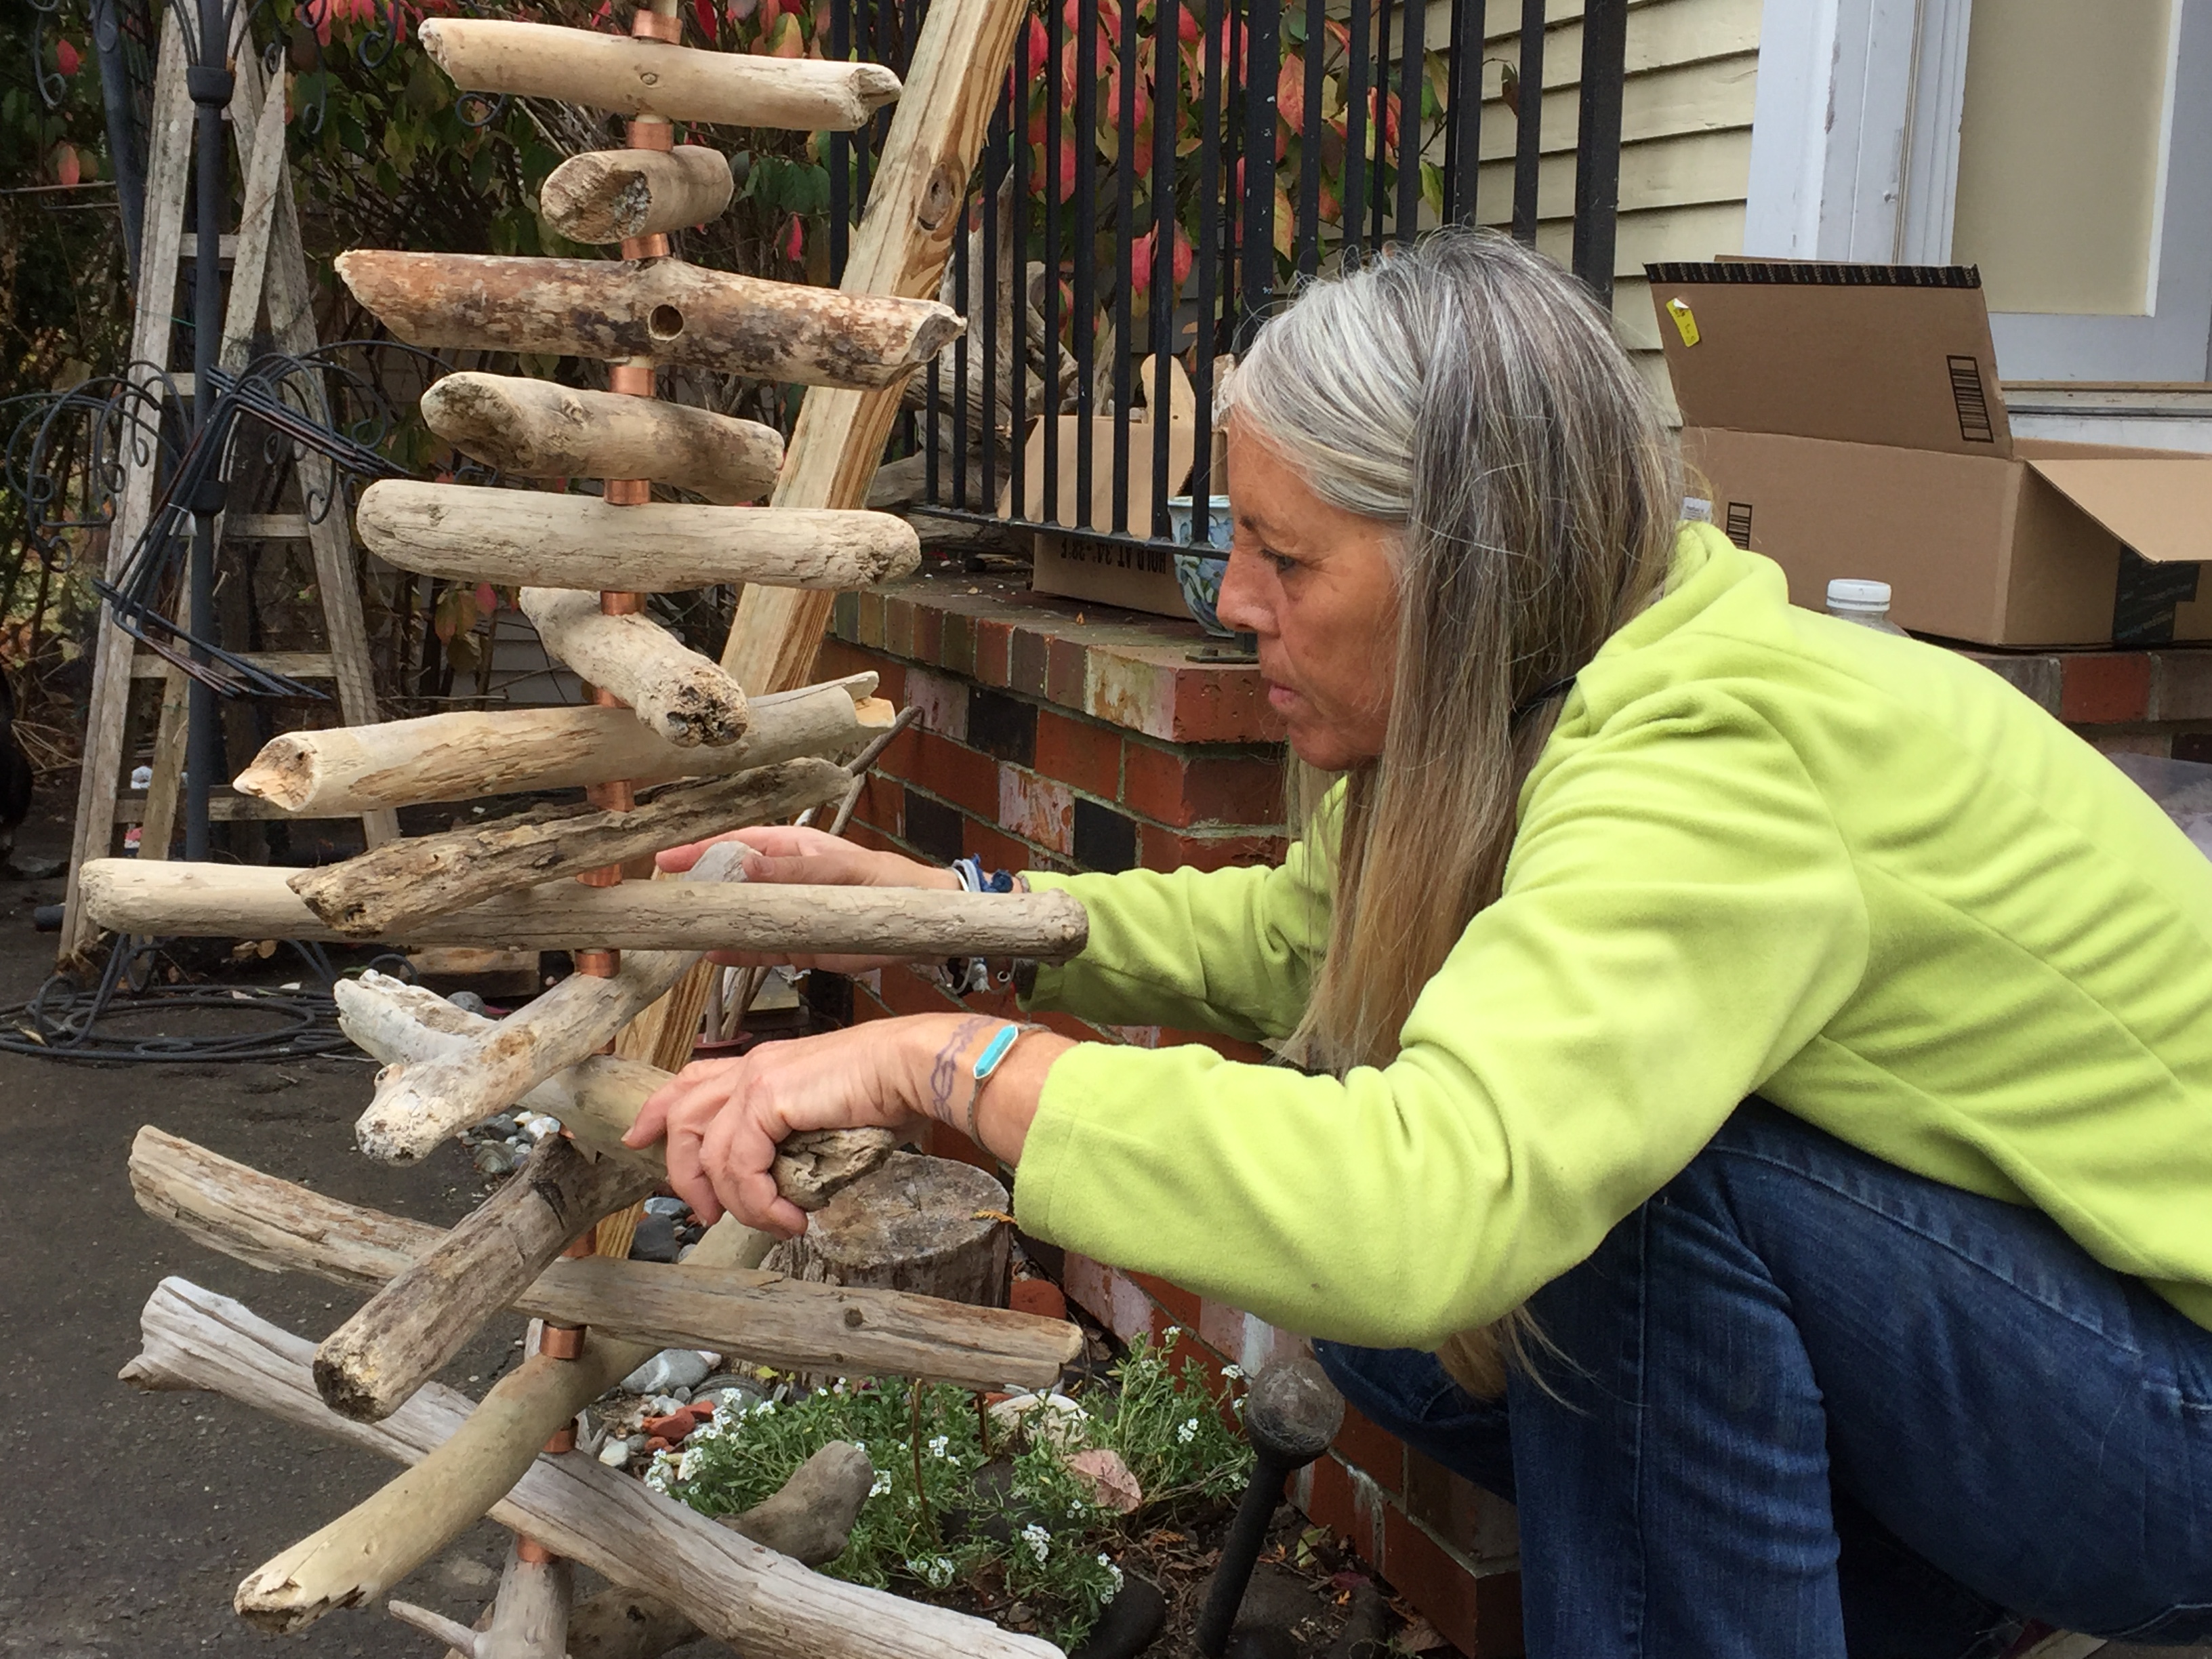
- You can add embellishment branches however you choose – make sure to drill the wood before using screws.
Making the tripod feet
- With basic arch frame standing up, have extra person steady while you plan which pieces to use for each part of the tripod stand. Make sure you don’t place your feet where anyone could trip.
- Secure the first foot and begin drilling the driftwood foot right through the leg.
- Repeat the process until each side has three feet, forming a triangle. Your arch should be able to stand on its own at this point.
- Add crossbar pieces to connect and secure the feet.
- If needed, reinforce tripod feet with additional screws. – don’t forget to drill first!


